Promox VE is a OS base on Linux help you to virtualize environnement, create Virtual machines. Let’s see how to install a cluster of 2 node running Promox VE in this blog post
Install Single Promox VE Instance
-
First download ISO install file: https://www.proxmox.com/en/downloads Chose latest version or at the writing time is 8.4-1
-
Burn your ISO to USB plug to your server then boot. Or you can install to a VM like me i use promox and now I will create a promox cluster inside a Promox VE server :))))
The insatalltion is quite easy. Easiser than installing windows i think :)))
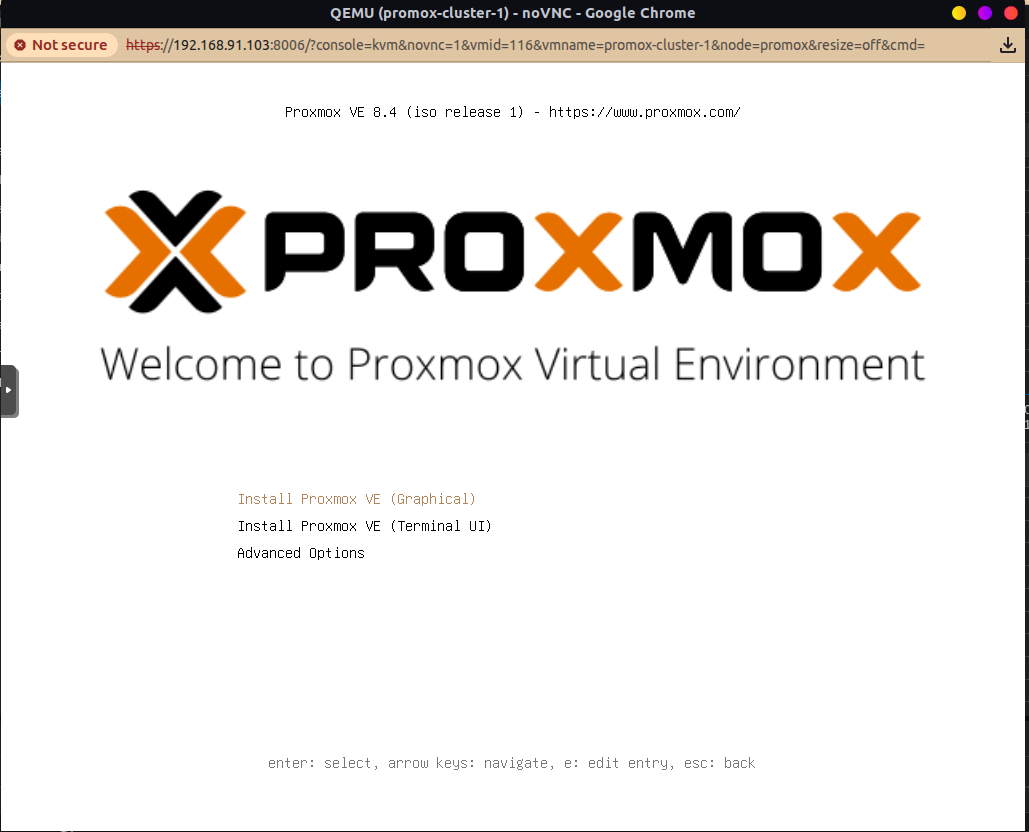 At this step you can chose terminal installation or UI installation you can continue with GUI it will be easier I think
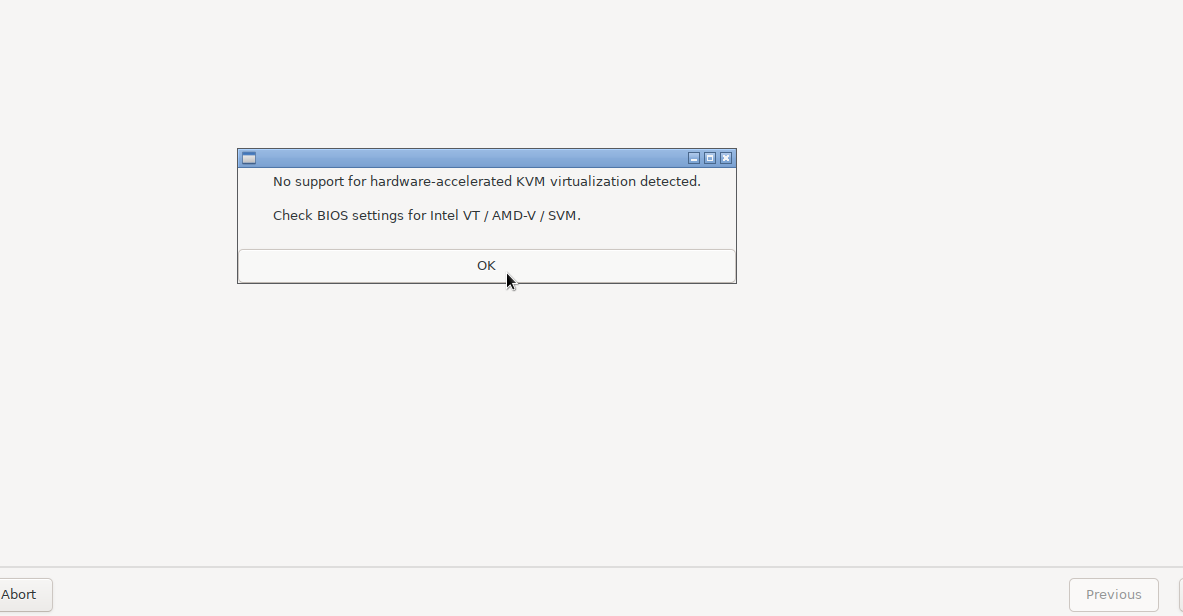
If you see this warning youu can skip it or try to enable the KVM accelerator
# Edit GRUB configuration
nano /etc/default/grub

# For Intel CPUs, add to GRUB_CMDLINE_LINUX_DEFAULT:
GRUB_CMDLINE_LINUX_DEFAULT="quiet intel_iommu=on"

# For AMD CPUs, add:
GRUB_CMDLINE_LINUX_DEFAULT="quiet amd_iommu=on"

# Update GRUB
update-grub
# Configure KVM nested virtualization:
# For Intel:
echo "options kvm_intel nested=1" > /etc/modprobe.d/kvm-nested.conf

# For AMD:
echo "options kvm_amd nested=1" > /etc/modprobe.d/kvm-nested.conf

# Reboot the host
reboot
then Configure the Proxmox VM:In Proxmox web interface:
- Go to your VM → Hardware → Processors
- Set CPU type to host (not kvm64)
- Enable Enable PCID if available
- Set Flags to include +pcid if needed
Or you can skip but the VM you create later will run quite slow so for production you need to enable it to boost VM performance
I’ll skip now because we are learning :v
Next steps will be chose your disk install, location, server password email just do as another OS installation then you will go to network config

Here config static IP for your promox host. Just enter your gateway and your design static IP, The hostname field can be any valid hostname that you point domain later or not point but must be a valid full qualified domain name
Then spam next and install :))) very easy right :))))
Repeat these steps for all of your server want to create cluster
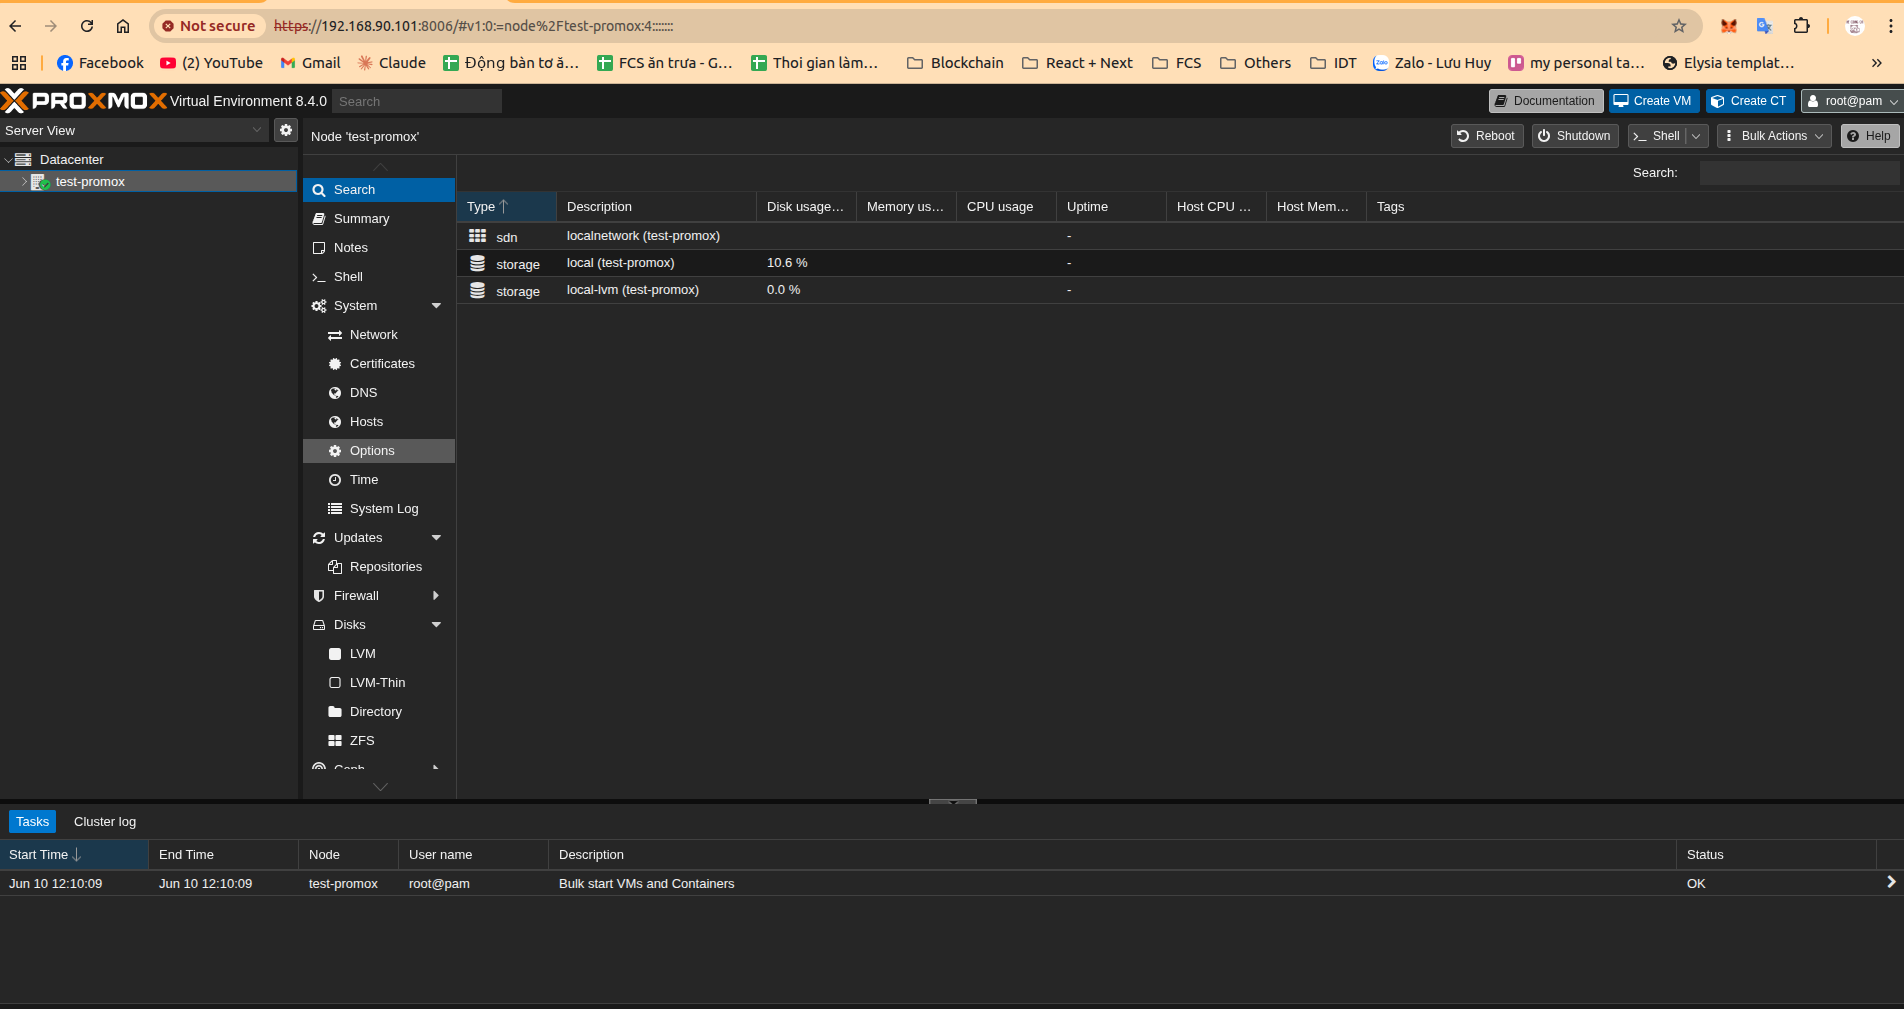
After installation you can access the Promox dashboard at server-ip:8006 with user name is root and password as you typed at previous step. You can use this username and password to ssh to the promox server itself. Promox is just a linux machine anyway
I’ve created 2 promox instances running on 192.168.90.101:8006 and 192.168.90.102:8006
 Next step we will join them together to create a cluster
Config Multi Promox Instances to A Cluster
Ok access one of your promox web dashboard and navigate Datacenter then cluster menu
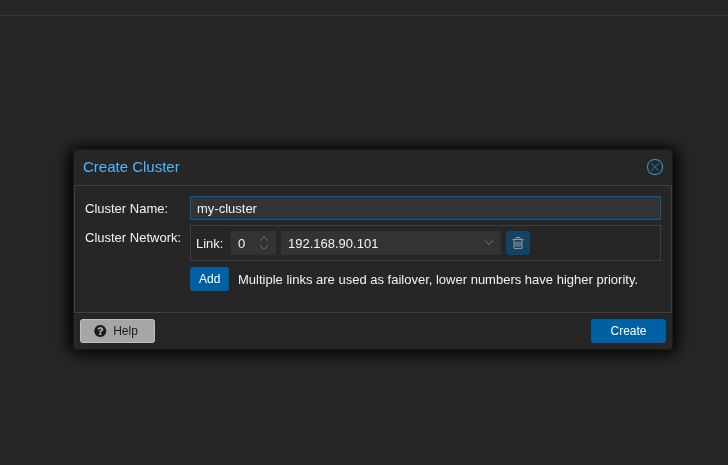
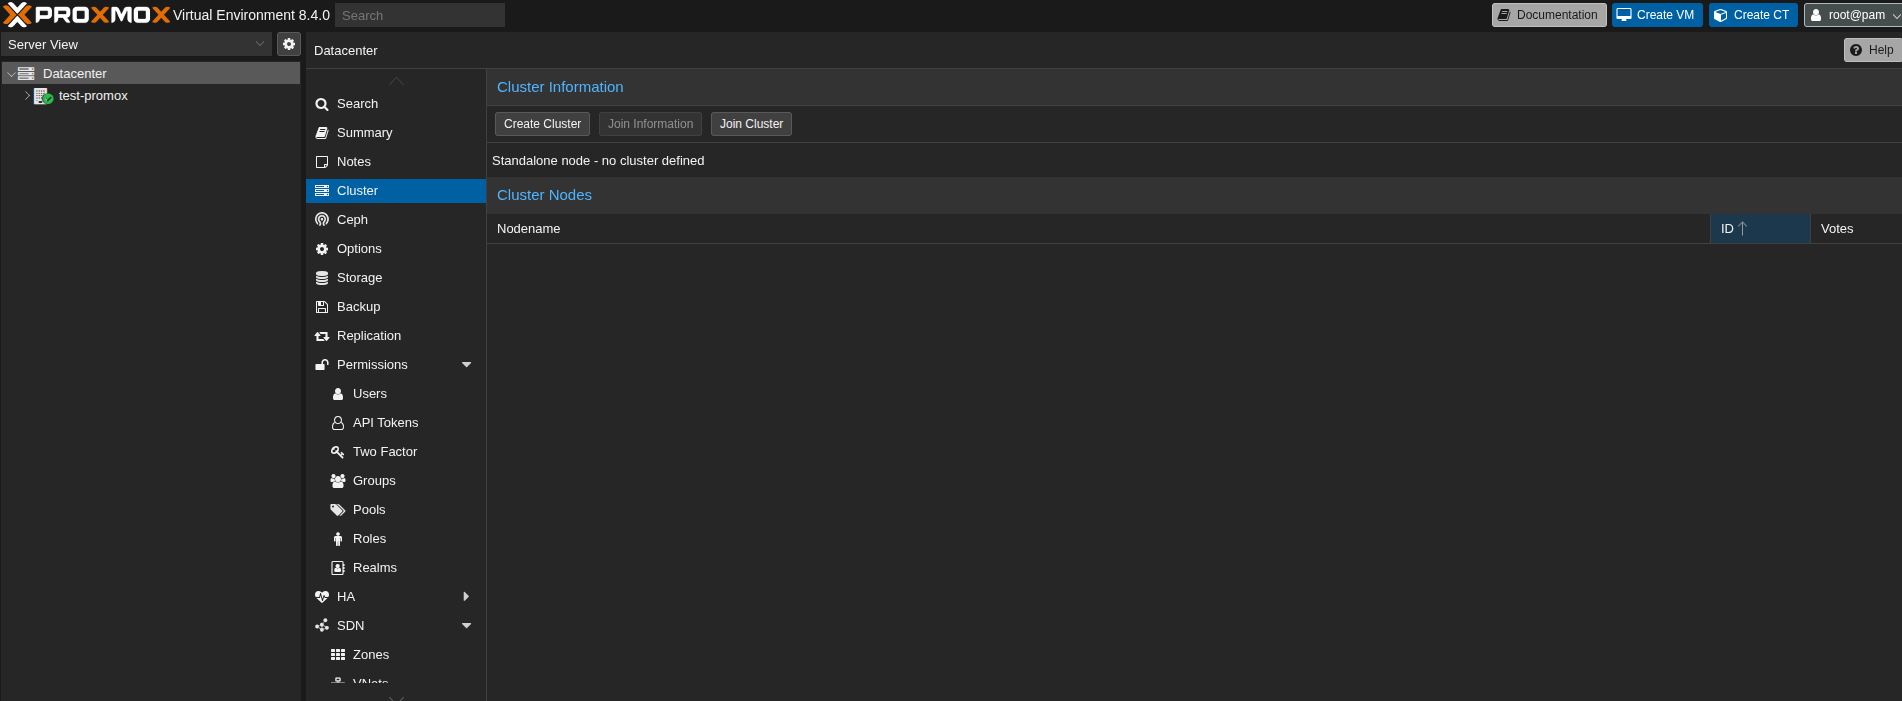 By default, it is standalone node let’s click create cluster and enter your cluster name. Cluster network you can add more network port if you like. But before it you need add linux bridge for your network port. Just use the default network port for now then save
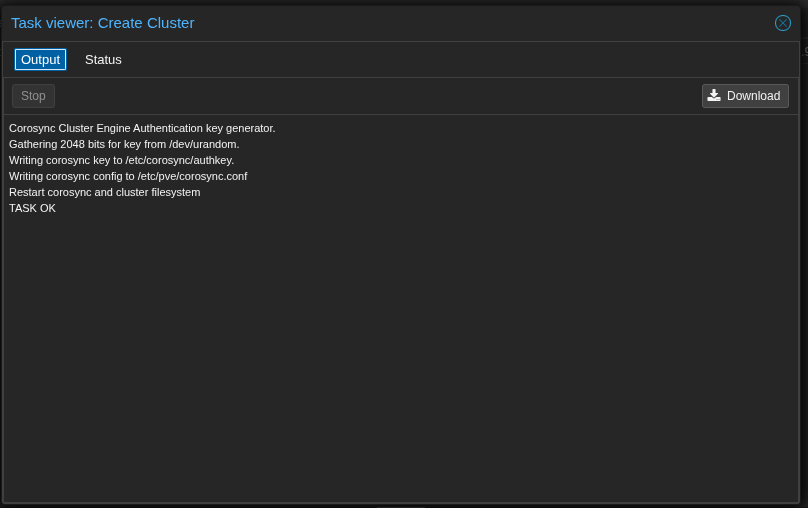
 Then when success you will see a modal like this
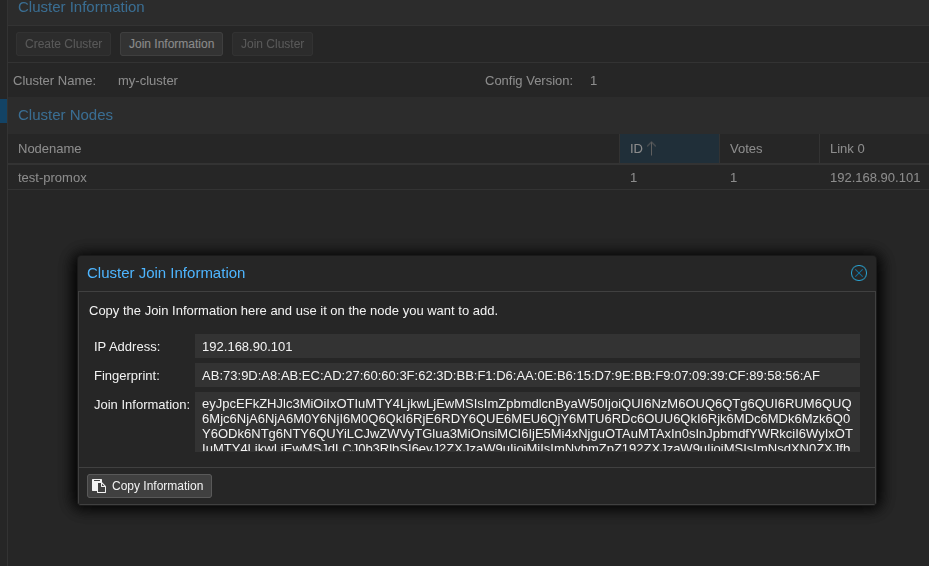
 Then click to
 join information tab you can see the information that another node will use to join to cluster click copy
 then navigate to another promox dashboard cluster section then join cluster and paste the information
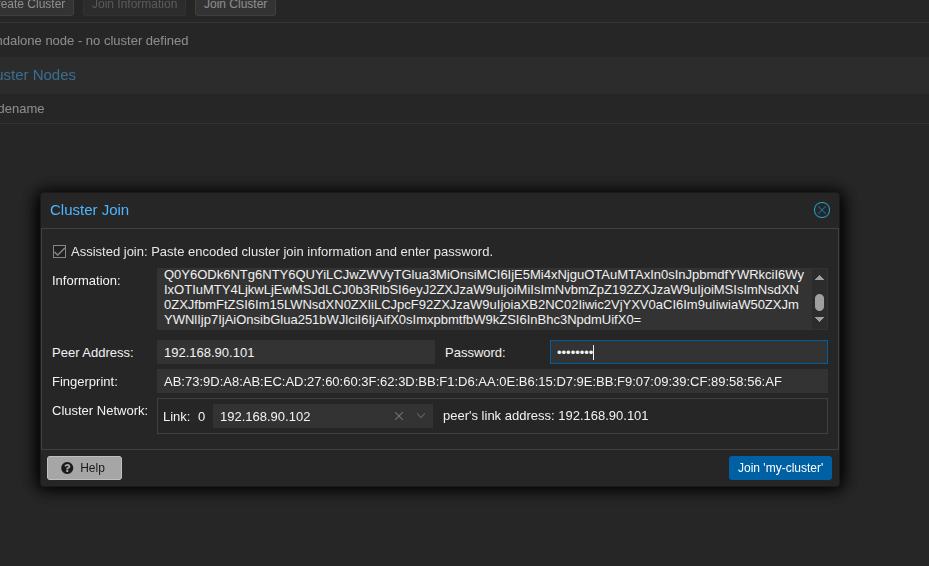 The password field enter the password of the node that create cluster. Click join then wait for the joining process. You can check process in the first node logs
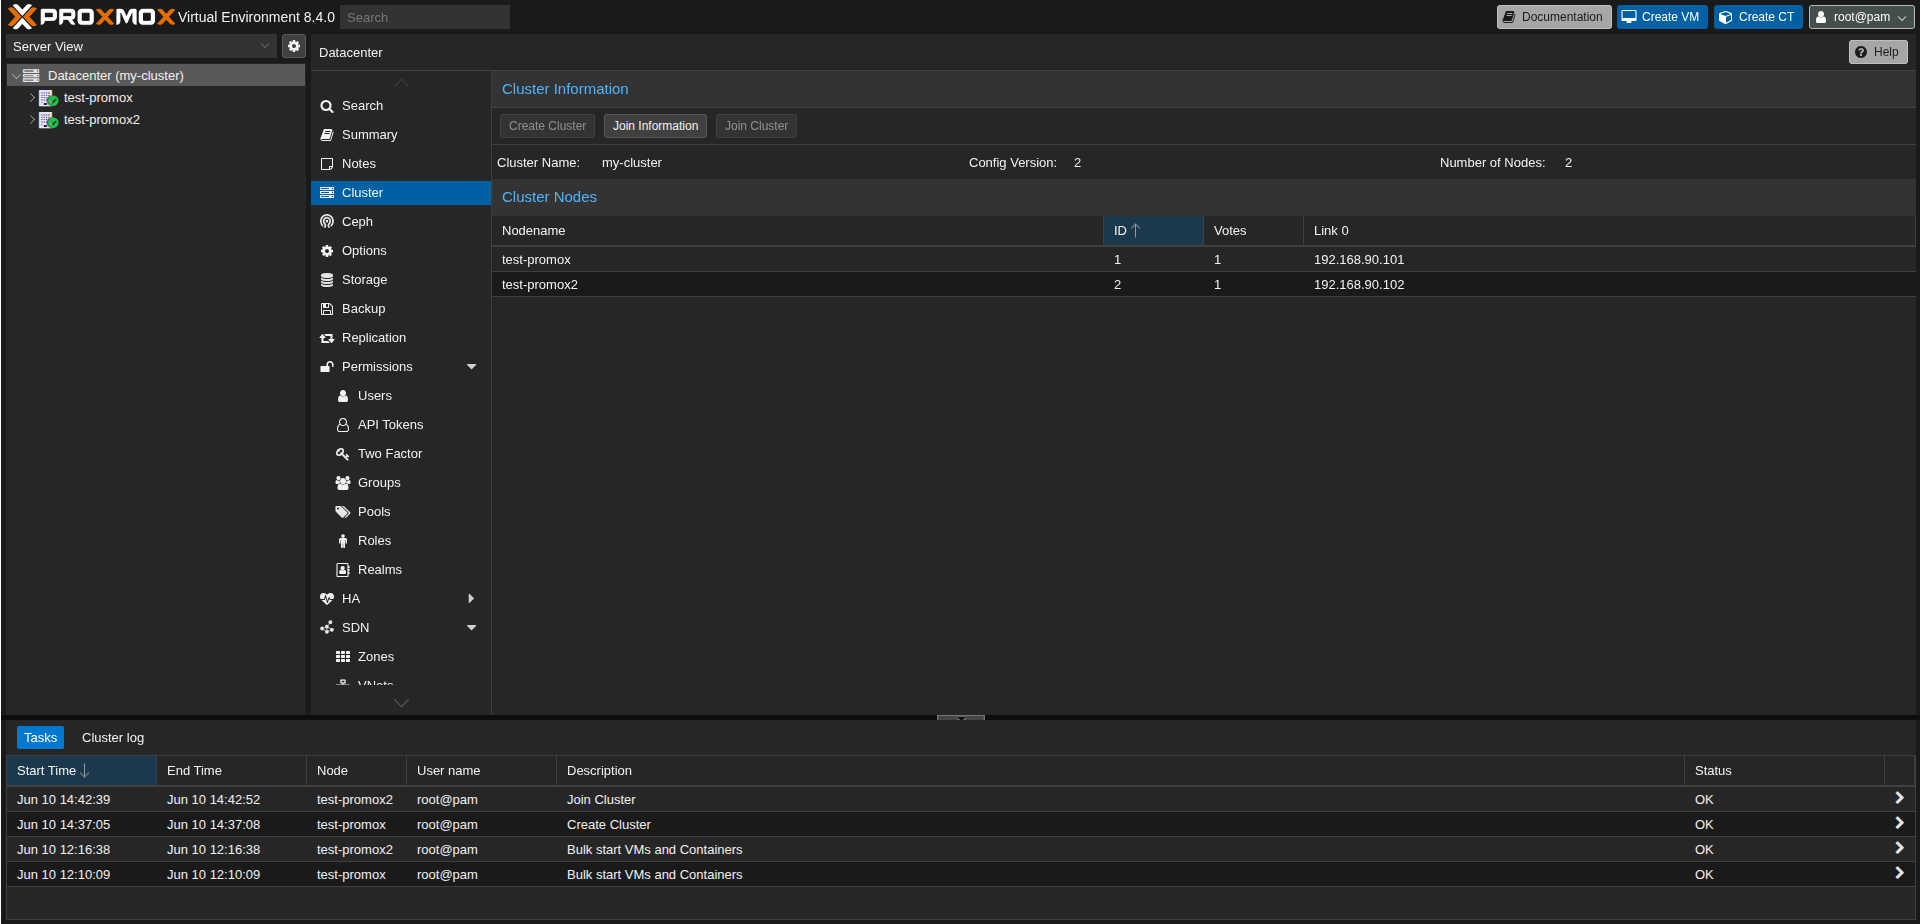
 When complete you can see our cluster now have 2 nodes
 Now just repeat these step for all of existing nodes of your cluster.
Tada!, now you have a Promox cluster
Promox VE Cluster Management
Now access any node dashboard you can see the dashboard management for all cluster